

Want to make your own personalized bead keychain? Read on for the step-by-step instructions (plus a bonus video tutorial) for this fun and easy project.

Looking for the supplies?
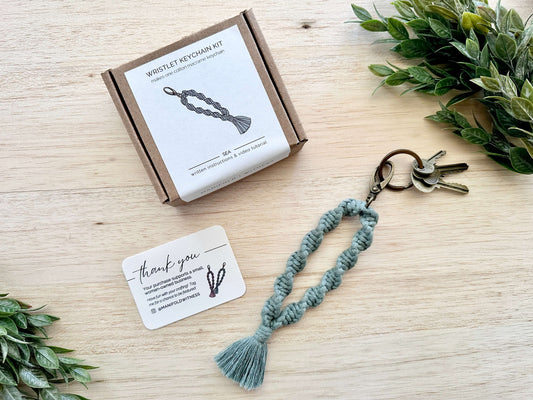
Check out the letter bead keychain kit. It comes with all of the materials you’ll need, in a reusable aluminum tin.
Crafting with a group? This project is also available in a party kit if you’re planning on crafting with two or more people.
If you already have the kit, you're in the right place. Skip to the "Keychain Tutorial" section below.
Keychain Materials
If you want to pick your own supplies, try your local craft store or an online search. (Tip: Etsy is a good source for beading supplies.)

You’ll need:
- 7 mm acrylic letter beads in your choice of letters
- 14 vinyl heishi beads in your preferred color (6 mm size)
- 6 vinyl heishi beads in a second color (6 mm size)
- 4 flat spacer beads
- 2 round/spherical spacer beads
- 1 keychain hook or lobster clasp
- Thin waxed cord, about .5 mm thick (it needs to be thin enough to thread through your beads at double thickness)
You’ll also need a pair of scissors for this project. 
Of course, there are a lot of variations you can make on this keychain - I’d love to see what you come up with! Leave me a comment with your results or tag me on Instagram: @manifoldwitness.
Keychain Tutorial
Check out the video tutorial below, or scroll past the video for written, step-by-step instructions with pictures.
Video Tutorial
Written Instructions
1. If you have the kit, the cord is already cut for you. If you don’t have the kit, cut a cord 18” (46 cm) long.

2. Fold your cord in half and pinch the end flat.

3. Then take a round spacer bead and thread it onto the folded end.


- Pinch your cord at the folded end again, and roll it between your fingers. You want to make sure it’s as pointed as possible so it will go through the bead (like a needle).


- Aim for the very center of the bead hole. If you’re using the bead from the kit, there’s a slight ridge inside the bead hole that may prevent the cord from coming out the other side easily, so you need to aim right for the center of the hole to avoid that ridge. The cord should come out the other end more easily if you aim for the center.


- If you can see the cord coming through but it’s stuck inside the bead, use a toothpick to pry it out. Watch the video tutorial to see an example.

4. Take seven of your heishi beads (color 1) and thread them onto the cord.


5. Take two of your flat spacer beads and thread them onto the cord.


- Pinch your cord at the folded end again, and roll it between your fingers. You want to make sure it’s as pointed as possible so it will go through the bead (like a needle).
- Work with one bead at a time. Hold the cord close to the folded end. Push just the end of the cord through the bead hole, and then pull it through from the other side. (If your nails are long enough, use your nails to grip the cord and push it through.)


6. Take three heishi beads (color 2) and thread them onto the cord.


7. Now you’ll start adding your letter beads. Start with your LAST bead and thread it onto the cord.
If you’re right-handed, you’ll want to make sure the bead is upside down. (This will make more sense in a minute.) If you’re left-handed and working from right to left, you can leave your beads right side up.


- Pinch your cord at the folded end again, and roll it between your fingers. You want to make sure it’s as pointed as possible so it will go through the bead (like a needle).
- Work with one bead at a time. Hold the cord as close to the folded end as possible. Push just the end of the cord through the bead hole, a little at a time. (If your nails are long enough, use your nails to grip the cord and push it through.)

- If that doesn’t work, use a toothpick to make sure the bead hole is completely clear, and try again.


8. You can use a round spacer bead if you want a space between your words. Keep going until you finish up all your letter beads.

9. If you’re working right-handed, turn your keychain around and check to make sure you have the beads in the right order.

10. Turn your keychain back around and add three more heishi beads (color 2).

11. Add two more flat spacer beads.

12. Add seven more heishi beads (color 1).

13. Add your last round spacer bead.


15. Open the cord to form a loop.


16. Tuck the loop forward, over the keychain clasp. Then pull the keychain clasp up through the loop to tighten it. (Go to the video tutorial to see this step in action.)


17. Push all of your beads up toward the keychain clasp.

18. At the bottom of the keychain, tie the ends of your cord in a simple overhand knot and tighten it up, right under the last bead.


19. Repeat the knot.


20. Trim your cord ends.

You’ve finished your project! Clip onto your key ring and enjoy your new beaded keychain. Don't forget to comment below or tag me on Instagram (@manifoldwitness) so I can see your results!

© 2023 Manifold Witness LLC. For personal use only; not to be copied, distributed, altered, or sold.